
Introduction
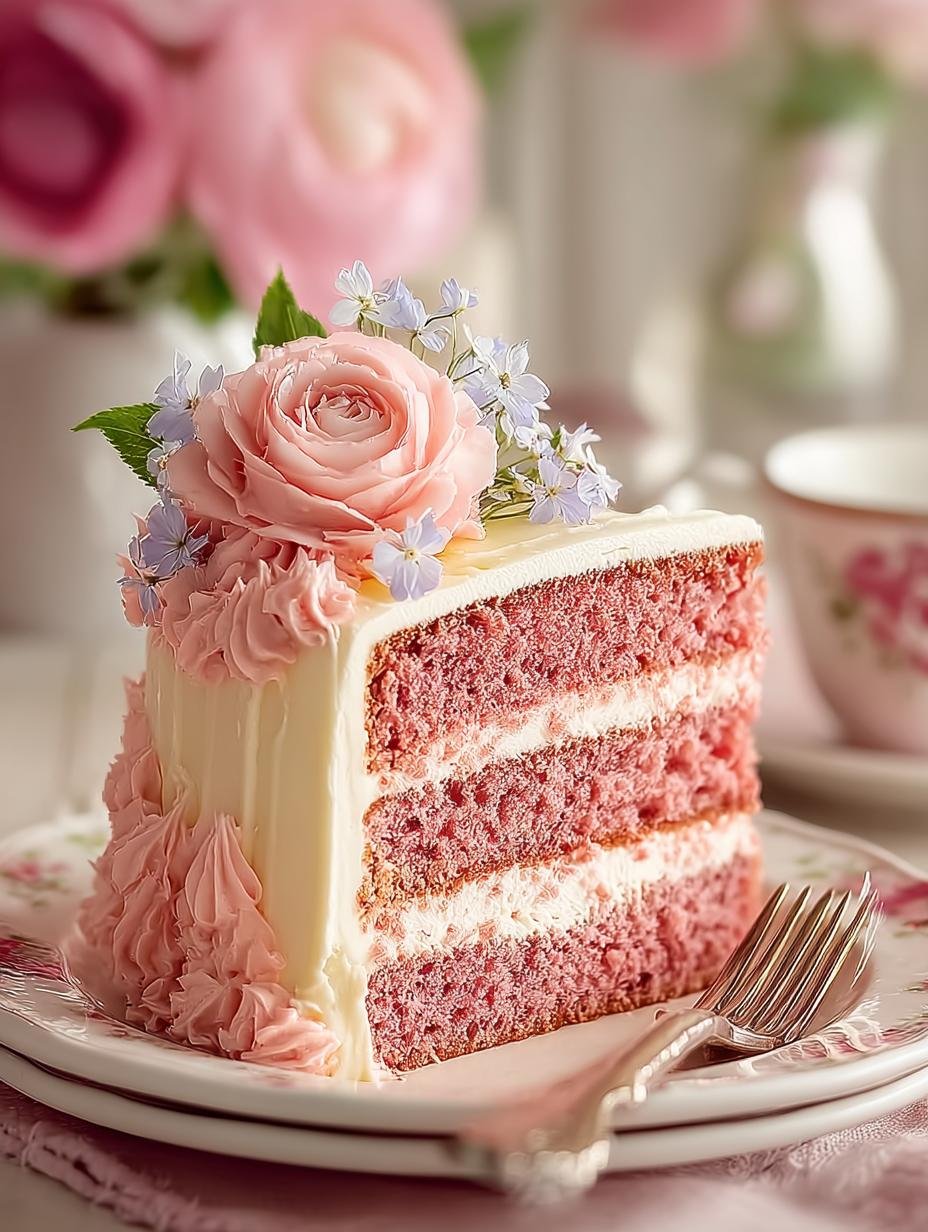
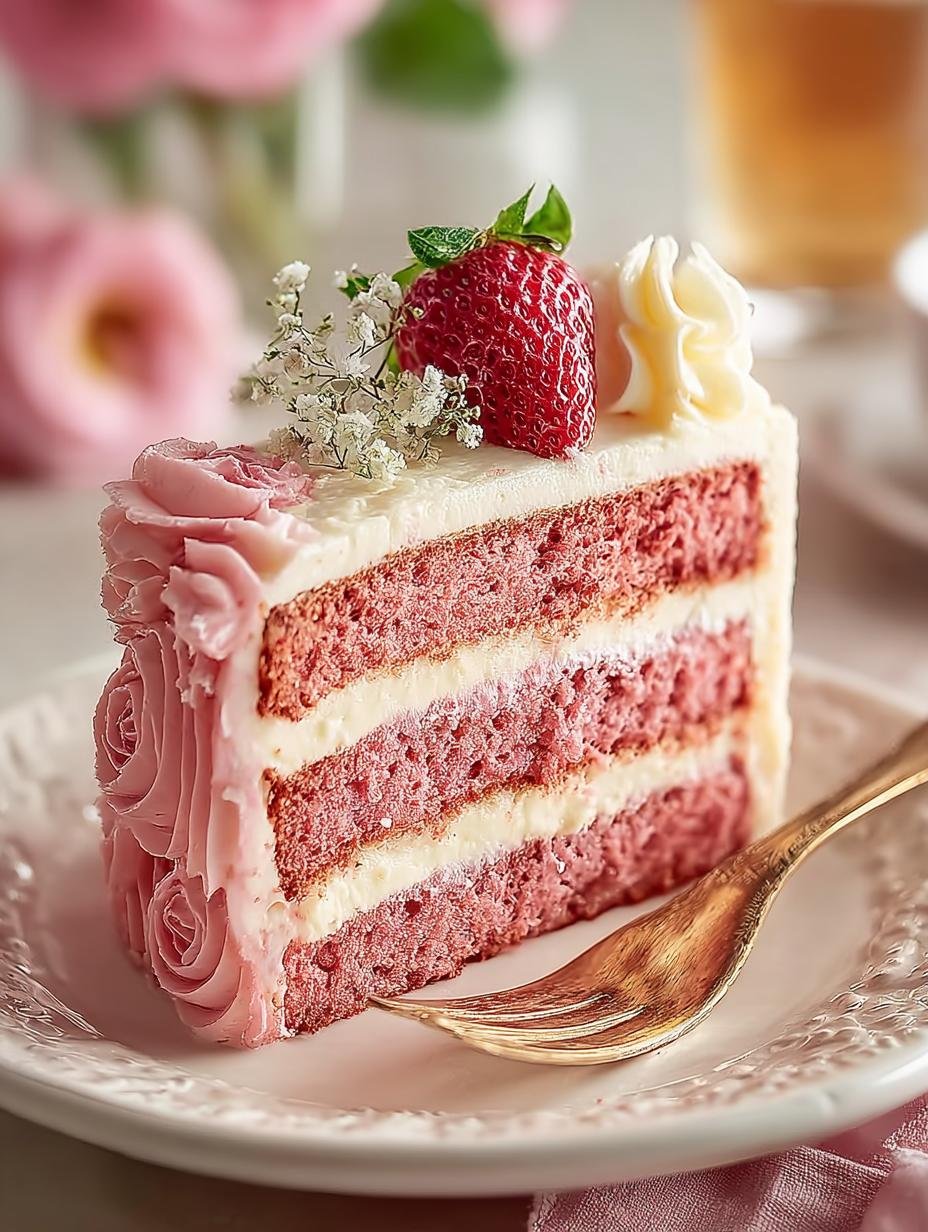
Pink Velvet Cake is a stunning dessert that captures the heart with its vibrant color and rich flavor. Indulge in the velvety soft and richly decadent experience of this showstopping cake. With its moist crumb and creamy cream cheese frosting, this cake is sure to impress at any occasion, be it a birthday celebration or a special gathering.
Why You’ll Love This Pink Velvet Cake
This pink cake is not just visually appealing; it is also incredibly delicious. Here are a few reasons why you will adore it:
- The perfect blend of sweetness and richness makes it irresistible.
- Its moist texture ensures every bite melts in your mouth.
- It’s an ideal treat for birthdays and special occasions.
- Simple pink velvet cake ingredients make it easy to whip up at home.
- It pairs beautifully with cream cheese frosting, creating a delightful taste experience.
- Great for sharing with friends and family, making memories sweeter.
Plus, it’s a fantastic American dessert that fits well into many diets, including vegetarian.
Ingredients for Pink Velvet Cake
Gather these items:
- 2 cups all-purpose flour
- 2 cups granulated sugar
- 1/2 cup unsweetened cocoa powder
- 1 teaspoon baking soda
- 1 teaspoon salt
- 1 cup buttermilk
- 1/2 cup vegetable oil
- 2 large eggs
- 1 teaspoon vanilla extract
- 1 teaspoon red food coloring
- 1 cup unsalted butter, softened
- 4 ounces cream cheese, softened
- 4 cups confectioners’ sugar
How to Make Pink Velvet Cake Step-by-Step
- Step 1: Preheat the oven to 350°F. Grease and flour two 9-inch round cake pans.
- Step 2: In a large bowl, whisk together the flour, sugar, cocoa powder, baking soda, and salt.
- Step 3: In a separate bowl, combine the buttermilk, oil, eggs, vanilla, and food coloring. Mix well.
- Step 4: Gradually add the wet ingredients to the dry ingredients, mixing until just combined.
- Step 5: Divide the batter evenly between the prepared cake pans.
- Step 6: Bake for 30-35 minutes, or until a toothpick inserted into the center comes out clean.
- Step 7: Allow the cakes to cool in the pans for 10 minutes, then transfer to a wire rack to cool completely.
- Step 8: In a large bowl, beat the butter and cream cheese until light and fluffy.
- Step 9: Gradually add the confectioners’ sugar and beat until smooth and creamy.
- Step 10: Place one cake layer on a serving plate and top with a layer of the cream cheese frosting.
- Step 11: Top with the second cake layer and frost the top and sides of the cake with the remaining frosting.
- Step 12: Refrigerate the cake for at least 2 hours before serving.
Pro Tips for the Perfect Pink Velvet Cake
Keep these in mind:
- Ensure all ingredients are at room temperature for best results.
- Use gel food coloring for a more vibrant color.
- For a moist pink velvet cake, avoid over-mixing the batter.
- Consider using a cake leveler for even layers and a professional finish.
Best Ways to Serve Pink Velvet Cake
This delightful cake is perfect on its own, but here are a few ideas for serving:
- Pair it with fresh berries for a touch of freshness.
- Serve a slice with a dollop of whipped cream for added indulgence.
- Try decorating it with edible flowers for a stunning presentation.
How to Store and Reheat Pink Velvet Cake
To keep your pink cream cake fresh, store it in an airtight container in the refrigerator for up to a week. If you need to reheat, warm individual slices in the microwave for about 10-15 seconds.
Frequently Asked Questions About Pink Velvet Cake
What’s the secret to perfect Pink Velvet Cake?
The secret lies in using high-quality ingredients and ensuring your butter and cream cheese are at room temperature. This helps achieve that smooth and creamy frosting, making the cake a true pink velvet dessert.
Can I make Pink Velvet Cake ahead of time?
Absolutely! You can bake the layers ahead of time and freeze them. Simply wrap the cooled cakes tightly in plastic wrap and store them in the freezer for up to a month.
How do I avoid common mistakes with Pink Velvet Cake?
One common mistake is overmixing the batter. Mix until just combined to keep the cake light and fluffy. Also, ensure your oven is properly preheated for even baking.
Variations of Pink Velvet Cake You Can Try
There are endless possibilities when it comes to variations of this cake:
- Consider a gluten-free pink velvet cake recipe by using gluten-free flour.
- Add a hint of almond extract for a unique flavor twist.
- For a chocolate lover’s dream, incorporate chocolate chips into the batter.
- Top it with a decadent ganache for an extra layer of indulgence.
This pink velvet layer cake is not just a feast for the eyes but also a delight for the taste buds. With its rich history and beautiful appearance, it is bound to be a showstopper at your next gathering.

For more delicious recipes, check out our Healthy Sloppy Joes or try our Pumpkin Spice Latte Cake. If you’re looking for a quick dessert, our Peanut Butter Yogurt Cup is a great option!
Print
Indulge in Pink Velvet Cake: 12 Amazing Layers
- Total Time: 50 minutes
- Yield: 12 servings 1x
- Diet: Vegetarian
Description
Indulge in the velvety soft and richly decadent experience of this showstopping Pink Velvet Cake. With its moist crumb and creamy cream cheese frosting, this cake is sure to impress at any occasion.
Ingredients
- 2 cups all-purpose flour
- 2 cups granulated sugar
- 1/2 cup unsweetened cocoa powder
- 1 teaspoon baking soda
- 1 teaspoon salt
- 1 cup buttermilk
- 1/2 cup vegetable oil
- 2 large eggs
- 1 teaspoon vanilla extract
- 1 teaspoon red food coloring
- 1 cup unsalted butter, softened
- 4 ounces cream cheese, softened
- 4 cups confectioners’ sugar
Instructions
- Preheat the oven to 350°F. Grease and flour two 9-inch round cake pans.
- In a large bowl, whisk together the flour, sugar, cocoa powder, baking soda, and salt.
- In a separate bowl, combine the buttermilk, oil, eggs, vanilla, and food coloring. Mix well.
- Gradually add the wet ingredients to the dry ingredients, mixing until just combined.
- Divide the batter evenly between the prepared cake pans.
- Bake for 30-35 minutes, or until a toothpick inserted into the center comes out clean.
- Allow the cakes to cool in the pans for 10 minutes, then transfer to a wire rack to cool completely.
- In a large bowl, beat the butter and cream cheese until light and fluffy.
- Gradually add the confectioners’ sugar and beat until smooth and creamy.
- Place one cake layer on a serving plate and top with a layer of the cream cheese frosting.
- Top with the second cake layer and frost the top and sides of the cake with the remaining frosting.
- Refrigerate the cake for at least 2 hours before serving.
Notes
- Ensure all ingredients are at room temperature for best results.
- Use gel food coloring for a more vibrant color.
- Prep Time: 15 minutes
- Cook Time: 35 minutes
- Category: Dessert
- Method: Baking
- Cuisine: American
Nutrition
- Serving Size: 1 slice
- Calories: 450
- Sugar: 45g
- Sodium: 250mg
- Fat: 20g
- Saturated Fat: 10g
- Unsaturated Fat: 8g
- Trans Fat: 0g
- Carbohydrates: 65g
- Fiber: 2g
- Protein: 4g
- Cholesterol: 60mg








Leave a Reply