
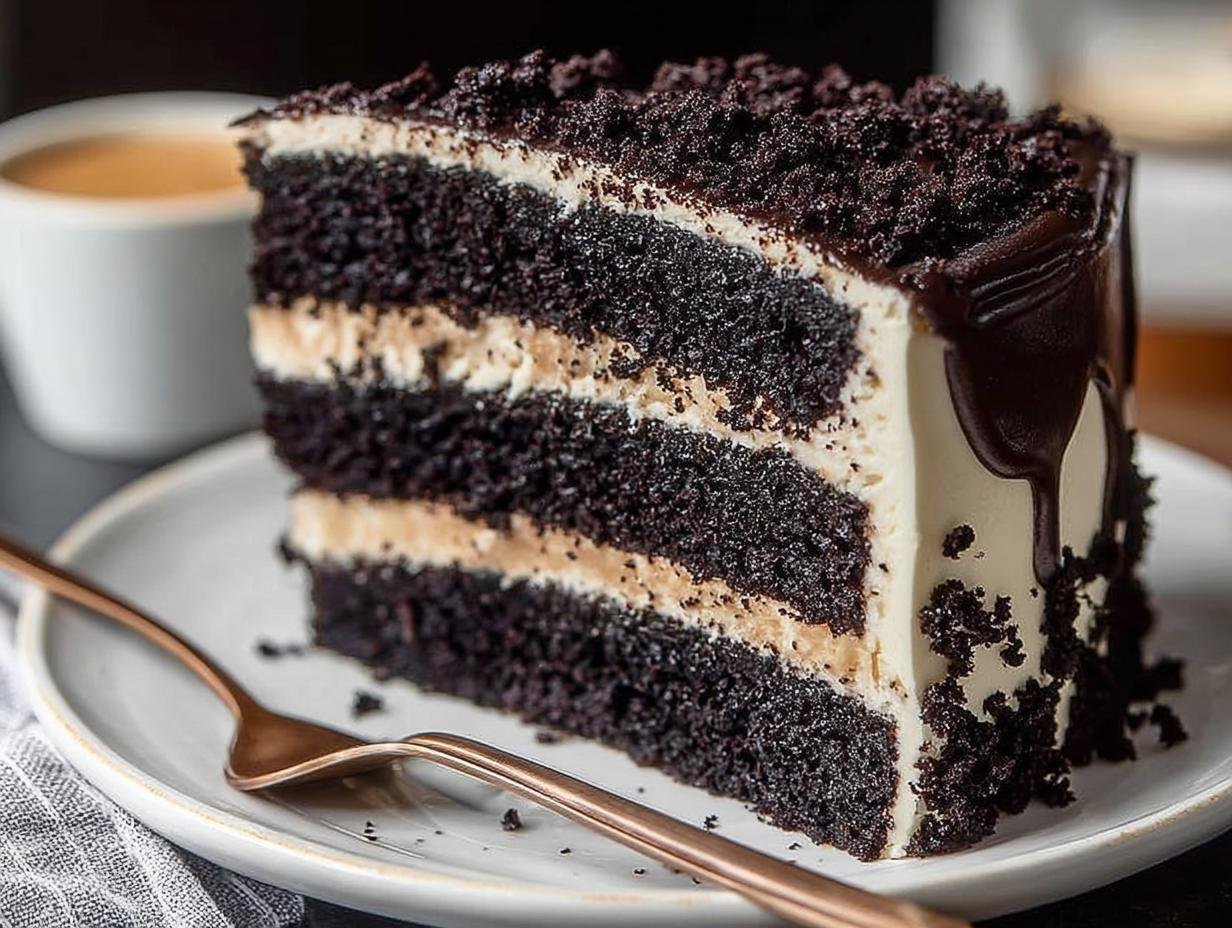
Black velvet cake has this incredibly dramatic look that always makes me feel like I’m celebrating something special, even on a random Tuesday. I first tried making a homemade black velvet cake years ago for Halloween, and it was a showstopper! The deep, dark color against the bright white cream cheese frosting was so striking. The aroma of rich chocolate filled my kitchen as it baked, promising a decadent treat. This easy black velvet cake recipe is my go-to now because it’s surprisingly simple to whip up and always results in a wonderfully moist crumb. Let’s get baking!
What is Black Velvet Cake?
So, what is black velvet cake exactly? It’s a stunning dessert that takes the concept of red velvet cake and gives it a dramatic, inky makeover. Instead of red food coloring, this cake uses black food coloring and often a good amount of unsweetened cocoa powder to achieve its deep, dark hue. This gives it a rich, chocolatey undertone that’s absolutely divine. The texture is wonderfully tender and moist, living up to the “velvet” in its name. When people ask about red velvet cake vs black velvet cake, the main difference is the color and often a slightly more pronounced chocolate flavor in the black version.
Why You’ll Love This Black Velvet Cake Recipe
If you’re looking for a cake that’s as impressive as it is delicious, you’ve found it! This easy black velvet cake recipe delivers big on flavor and visual appeal.
- Stunning Visual Appeal: The deep, mysterious black color is incredibly dramatic and perfect for special occasions.
- Rich Chocolate Flavor: Thanks to the cocoa powder, this cake has a wonderfully deep chocolate taste.
- Incredibly Moist Texture: We’ve perfected the balance so you get a truly moist black velvet cake recipe every time.
- Crowd-Pleasing: Everyone will be talking about this unique and delicious dessert.
- Surprisingly Simple: Despite its fancy appearance, this recipe is straightforward to follow.
- Versatile: It’s perfect for birthdays, holidays, or just because you want something special.
Ingredients for Homemade Black Velvet Cake
Gathering your black velvet cake ingredients is the first exciting step towards creating this showstopper! You’ll need a few pantry staples and some special items to achieve that deep, dark color and tender crumb. The unsweetened cocoa powder is key for that rich, chocolate black velvet cake flavor and contributes significantly to the cake’s signature hue. We’ll also use black food coloring, preferably gel, for an intense, uniform shade without altering the batter too much.
- 2 1/2 cups all-purpose flour, sifted
- 1 1/2 cups granulated sugar
- 1 cup unsalted butter, softened
- 3 large eggs, room temperature
- 1 cup buttermilk, room temperature
- 1/2 cup unsweetened cocoa powder, sifted
- 1 tablespoon black food coloring (gel recommended)
- 1 teaspoon vanilla extract
- 1 teaspoon white vinegar
- 1 teaspoon baking soda
- 1/2 teaspoon salt
How to Make Black Velvet Cake
Now for the fun part – bringing this gorgeous cake to life! Making this homemade black velvet cake is a rewarding process, and the results are truly spectacular. Follow these steps carefully, and you’ll have a show-stopping dessert that’s perfect for any celebration.
Step-by-Step Instructions
- Step 1: Preheat your oven to 350°F (175°C). Generously grease and flour two 9-inch round cake pans. For extra insurance against sticking, line the bottoms with parchment paper.
- Step 2: In a large bowl, begin by creaming together the softened butter and granulated sugar. Beat them until the mixture is wonderfully light and fluffy – this is crucial for a tender cake crumb.
- Step 3: Add the large eggs one at a time, making sure to beat well after each addition. Stir in the vanilla extract and then the black food coloring. Keep mixing until the batter is a uniform, deep dark shade.
- Step 4: In a separate bowl, whisk together the buttermilk and white vinegar. This combination will react with the baking soda later to help the cake rise.
- Step 5: In another bowl, sift together the flour, unsweetened cocoa powder, and salt. Sifting helps remove lumps and aerates the dry ingredients.
- Step 6: Now, alternate adding the dry ingredients (from Step 5) and the buttermilk mixture (from Step 4) to the creamed butter mixture. Start and end with the dry ingredients. Mix until everything is just combined; be careful not to overmix at this stage.
- Step 7: In a tiny bowl, mix the baking soda with just 1 tablespoon of hot water. This activates it quickly. Immediately and gently fold this mixture into your cake batter. You’ll see it start to bubble slightly.
- Step 8: Divide the batter evenly between your prepared cake pans. Use a spatula to smooth the tops so they bake evenly.
- Step 9: Bake for 25 to 30 minutes. You’ll know it’s done when a toothpick inserted into the center comes out clean, with maybe a few moist crumbs attached.
- Step 10: Let the cakes cool in the pans for about 10 minutes. Then, carefully invert them onto wire racks to cool completely. Rushing this step can lead to a crumbly mess!
- Step 11: While the cakes cool, prepare the frosting. In a large bowl, beat the softened cream cheese and butter until they are perfectly smooth. Gradually add the powdered sugar, vanilla extract, and salt, beating until the frosting is light and fluffy.
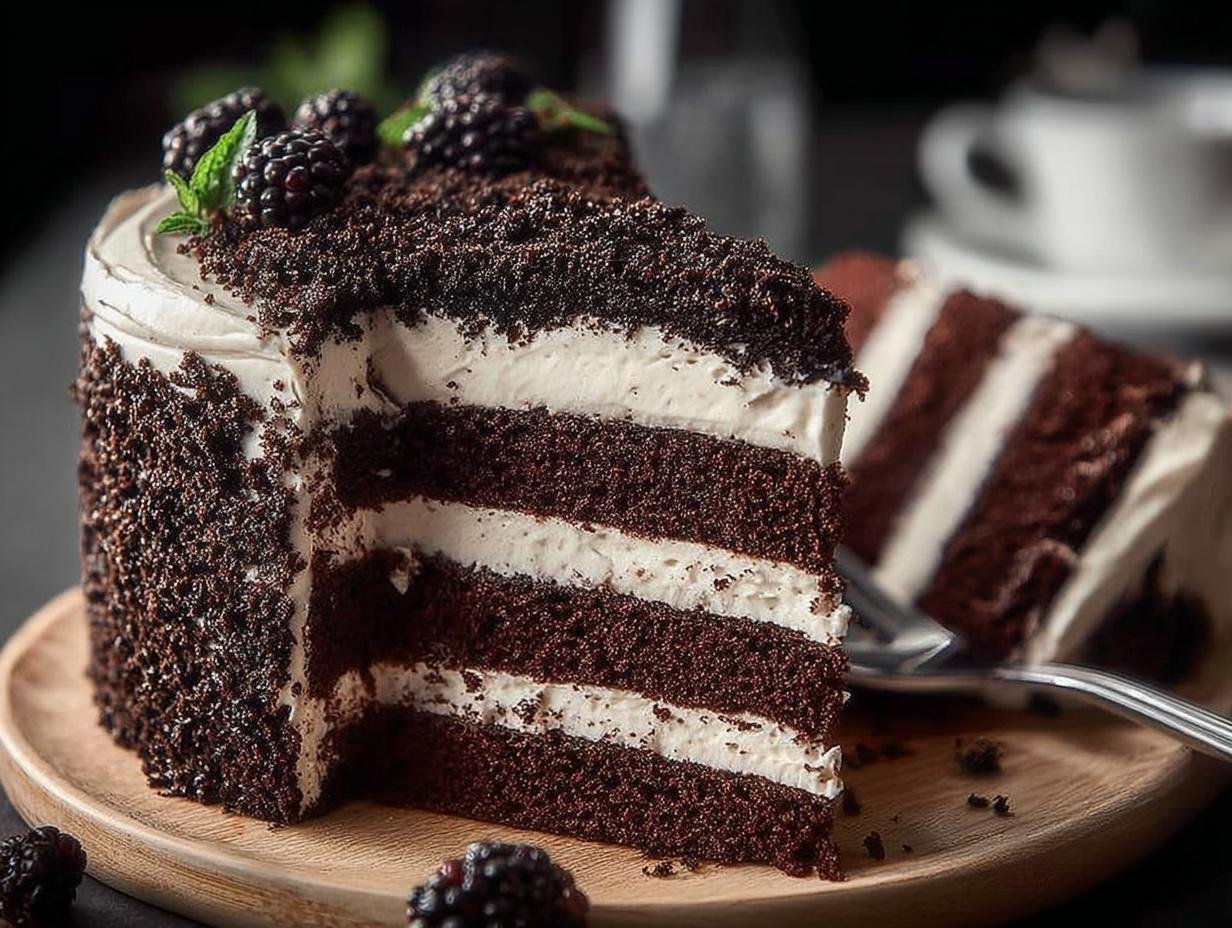
- Step 12: Once the cake layers are completely cool to the touch, it’s time to frost! Spread the luscious cream cheese frosting between the layers and all over the outside of your stunning cake.
Tips for the Best Black Velvet Cake
Achieving that perfect, decadent result is all about a few key details. These expert tips will help ensure your cake is a triumph!
- Always use room temperature ingredients – butter, eggs, and buttermilk. This helps them emulsify better, creating a smoother batter and a more tender cake.
- Opt for gel black food coloring. It provides a more intense, vibrant color than liquid versions without adding excess moisture that could affect the cake’s texture.
- Resist the urge to overmix the batter once the flour is added. Overmixing develops gluten, leading to a tougher, less tender crumb. Mix until just combined.
- Make sure your cakes are completely cool before frosting. Warm cake will melt the frosting, creating a messy, sliding situation. Patience is key here!
What’s the secret to perfect black velvet cake?
The secret to a truly perfect, moist cake lies in the proper creaming of butter and sugar, alternating the wet and dry ingredients, and baking until a toothpick comes out with moist crumbs. This ensures the best texture. For more baking science insights, check out the science behind baking.
Can I make black velvet cake ahead of time?
Absolutely! You can bake the cake layers up to two days in advance and store them, well-wrapped, at room temperature. The frosting can also be made a day ahead and refrigerated. This is similar to how you might prepare homemade tomato sauce for future use.
How do I avoid common mistakes with black velvet cake?
Avoid a dry cake by not overbaking; check for doneness early. Ensure an even, deep color by using gel food coloring and sufficient cocoa. To prevent frosting melt, always cool your cakes completely before decorating. If you’re interested in other desserts, consider trying a pistachio pavlova.
Black Velvet Cake Frosting
No black velvet cake is complete without its signature tangy cream cheese frosting! This classic pairing is what makes the cake so irresistible. It’s a simple yet decadent frosting that perfectly balances the rich, dark chocolate flavor of the cake. You’ll find that this black velvet cake frosting recipe is straightforward and uses common ingredients you likely already have on hand.
To whip up this luscious frosting, you’ll need softened cream cheese and butter. Beat them together until they’re smooth and creamy. Then, gradually add in your powdered sugar, a little at a time, along with vanilla extract and a pinch of salt for balance. Keep beating until it’s light, fluffy, and perfectly spreadable. This frosting is the ideal complement to the moist crumb of the cake, creating a truly memorable dessert.
Variations of Black Velvet Cake
While the classic black velvet cake is incredible on its own, I love that this recipe is so adaptable! You can easily tailor it to fit different dietary needs or preferences. For those looking for a vegan black velvet cake, simply substitute the butter with vegan butter, use a dairy-free milk alternative for the buttermilk, and ensure your sugar is vegan-friendly. Similarly, a dairy-free black velvet cake is achievable by using your favorite dairy-free milk and butter substitutes. If you’re aiming for a dye-free black velvet cake, you can rely solely on unsweetened cocoa powder for the color, though the hue will be more of a deep brown than true black. And don’t forget the delightful black velvet cupcake recipe option – simply reduce the baking time to 18-20 minutes!
Best Ways to Serve Black Velvet Cake
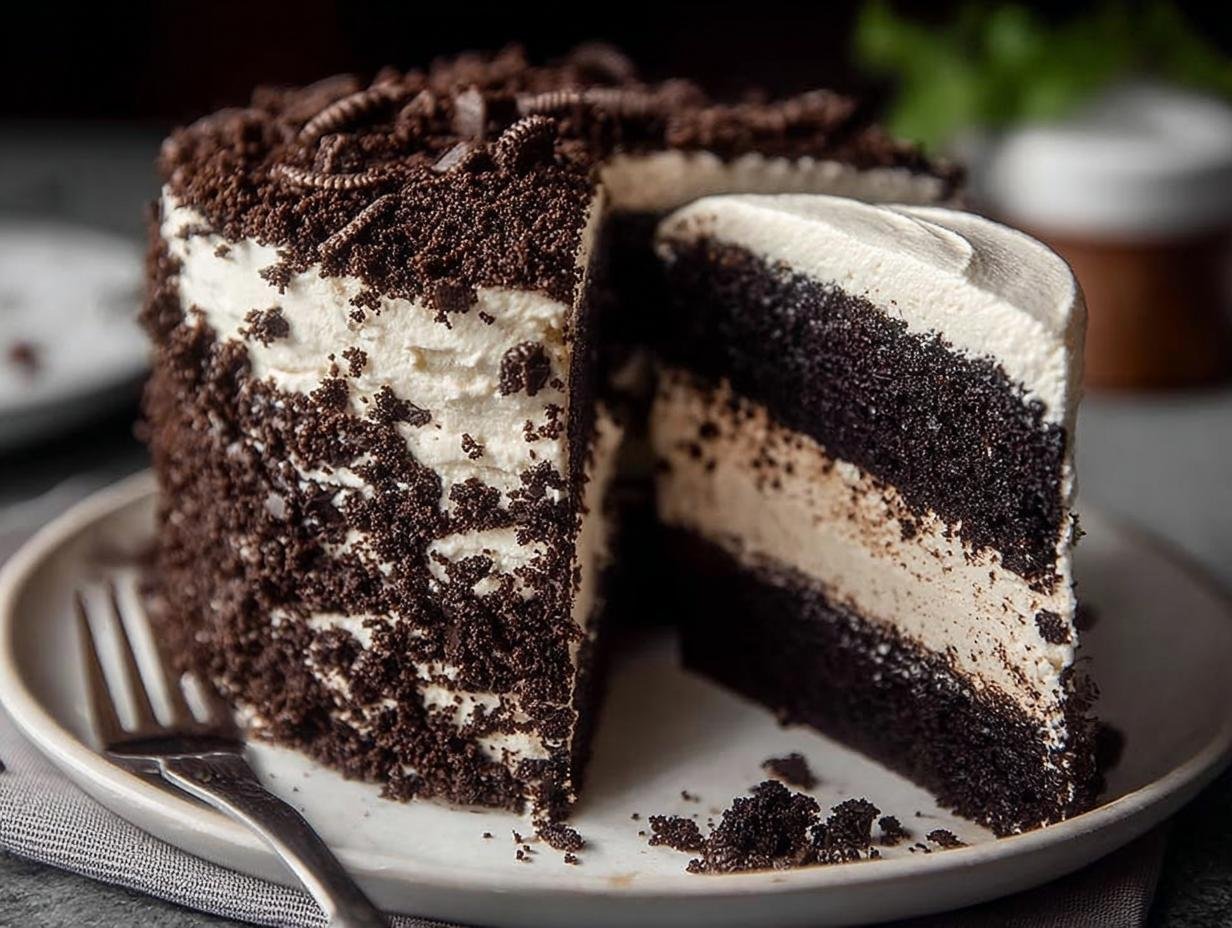
This stunning black velvet cake is a showstopper on its own, but I love thinking about different ways to present it! For a truly decadent experience, serve a generous slice with a scoop of vanilla bean ice cream or a dollop of fresh whipped cream. The contrast in color and temperature is delightful. If you’re a fan of intense flavors, pairing it with a rich raspberry coulis or a tart cherry compote really complements the deep, chocolate black velvet cake profile. It also makes a fantastic base for a chocolate ganache drizzle, adding another layer of luxurious chocolate flavor.
Nutrition Facts for Black Velvet Cake
Understanding the nutritional breakdown of this decadent treat can help you enjoy it mindfully. This black velvet cake recipe, especially with its rich cream cheese frosting, is certainly an indulgence.
- Serving Size: 1 slice (of 12)
- Calories: Approx. 450-550
- Fat: Approx. 25-35g
- Saturated Fat: Approx. 15-20g
- Unsaturated Fat: Approx. 10-15g
- Protein: Approx. 4-6g
- Carbohydrates: Approx. 60-70g
- Fiber: Approx. 2-4g
- Sugar: Approx. 50-60g
- Sodium: Approx. 250-350mg
Nutritional values are estimates and may vary based on specific ingredients used, particularly the amount of frosting applied.
How to Store and Reheat Black Velvet Cake
Storing your beautiful black velvet cake properly ensures it stays moist and delicious for days to come. Once your cake has completely cooled from baking – and I mean *completely* cool, no warm spots! – you can begin the storage process. For short-term storage, like up to 3-4 days, keep the frosted cake in an airtight container at room temperature. If you have a lot of cake left over or want to save some for later, freezing is a fantastic option. Wrap individual slices tightly in plastic wrap, then in foil, and they’ll keep well in the freezer for up to 3 months.
When you’re ready to enjoy a slice from the fridge or freezer, thawing is simple. For refrigerated cake, just let it sit at room temperature for about 30 minutes before serving. If thawing from frozen, allow it to come to room temperature overnight in the refrigerator. While reheating isn’t typically necessary for this moist cake, if you prefer a slightly warmer slice, you can gently warm a piece in the microwave for 10-15 seconds. Enjoy your perfectly preserved slice of decadence!
Frequently Asked Questions About Black Velvet Cake
What is the difference between black velvet cake and red velvet cake?
The primary difference between black velvet cake and its red counterpart is the color. While red velvet uses red food coloring and often a touch of cocoa, black velvet leans heavily on black food coloring and a more generous amount of cocoa powder for its deep, inky hue. This often results in a richer, more pronounced chocolate flavor in the black velvet version.
Why is cocoa powder important in black velvet cake?
Cocoa powder is crucial for achieving the signature deep color of black velvet cake. It not only contributes to the dark shade but also provides a wonderful, rich chocolate flavor that complements the other ingredients. Without enough cocoa, the cake might not reach that dramatic black intensity, even with food coloring. For more on ingredients, see the benefits of various ingredients.
How much food coloring do I need for black velvet cake?
The amount of black food coloring can vary, but I typically use about 1 tablespoon of gel food coloring for a standard recipe. Gel coloring is best because it’s concentrated and won’t add too much liquid to the batter, which could affect the texture. Always add it gradually until you achieve your desired deep black color.
Does black velvet cake have a history similar to red velvet?
While the exact black velvet cake history is less documented than red velvet’s, it emerged as a more dramatic, modern interpretation. Both cakes likely share roots in classic chocolate cakes that were enhanced for visual appeal. The “velvet” texture in both refers to their exceptionally smooth and tender crumb, achieved through ingredients like buttermilk, vinegar, and baking soda.
Print
Black Velvet Cake: Your Easy, Irresistible Recipe
- Total Time: 50 minutes
- Yield: 12 servings 1x
- Diet: Vegetarian
Description
A dramatic and delicious black velvet cake recipe featuring a deep black hue, tender crumb, and tangy cream cheese frosting. This recipe offers a sophisticated twist on classic velvet cake, perfect for special occasions.
Ingredients
- For the Cake:
- 2 1/2 cups all-purpose flour
- 1 1/2 cups granulated sugar
- 1 cup unsalted butter, softened
- 3 large eggs
- 1 cup buttermilk
- 1/2 cup unsweetened cocoa powder
- 1 tablespoon black food coloring (gel recommended)
- 1 teaspoon vanilla extract
- 1 teaspoon white vinegar
- 1 teaspoon baking soda
- 1/2 teaspoon salt
- For the Cream Cheese Frosting:
- 8 ounces cream cheese, softened
- 1/2 cup unsalted butter, softened
- 4 cups powdered sugar
- 1 teaspoon vanilla extract
- 1/4 teaspoon salt
Instructions
- Preheat your oven to 350°F (175°C). Grease and flour two 9-inch round cake pans. Line the bottoms with parchment paper.
- In a large bowl, cream together the softened butter and granulated sugar until light and fluffy.
- Add the eggs one at a time, beating well after each addition. Stir in the vanilla extract and black food coloring until the batter is uniformly dark.
- In a separate bowl, whisk together the buttermilk and white vinegar.
- In another bowl, sift together the flour, cocoa powder, and salt.
- Alternately add the dry ingredients and the buttermilk mixture to the creamed butter mixture, beginning and ending with the dry ingredients. Mix until just combined.
- In a small bowl, mix the baking soda with 1 tablespoon of hot water. Quickly fold this mixture into the cake batter.
- Divide the batter evenly between the prepared cake pans. Smooth the tops.
- Bake for 25-30 minutes, or until a toothpick inserted into the center comes out clean with moist crumbs.
- Let the cakes cool in the pans for 10 minutes before inverting them onto wire racks to cool completely.
- For the Frosting: In a large bowl, beat the softened cream cheese and butter until smooth. Gradually add the powdered sugar, vanilla extract, and salt, beating until light and fluffy.
- Once the cake layers are completely cool, frost the cake as desired.
Notes
- Ensure all cake ingredients are at room temperature for best results.
- Gel food coloring provides a more intense color without altering the batter consistency.
- Do not overmix the batter once the flour is added to maintain a tender crumb.
- The vinegar and baking soda reaction is quick; mix them in efficiently.
- Cool cakes completely before frosting to prevent the frosting from melting.
- For a gluten-free version, use a 1:1 gluten-free baking flour blend.
- For dairy-free, use vegan butter and a dairy-free milk alternative for the buttermilk.
- Cupcakes can be made by baking for 18-20 minutes.
- A 9×13 inch sheet cake will require 35-40 minutes of baking time.
- Prep Time: 20 minutes
- Cook Time: 30 minutes
- Category: Dessert
- Method: Baking
- Cuisine: American
Nutrition
- Serving Size: 1 slice
- Calories: Approx. 450-550 (varies with frosting)
- Sugar: Approx. 50-60g
- Sodium: Approx. 250-350mg
- Fat: Approx. 25-35g
- Saturated Fat: Approx. 15-20g
- Unsaturated Fat: Approx. 10-15g
- Trans Fat: 0g
- Carbohydrates: Approx. 60-70g
- Fiber: Approx. 2-4g
- Protein: Approx. 4-6g
- Cholesterol: Approx. 100-120mg








Leave a Reply